
Storm Drain Inspection Camera: What Homeowners Can See Before Repair
 Michael Carter
0 comments
Michael Carter
0 comments
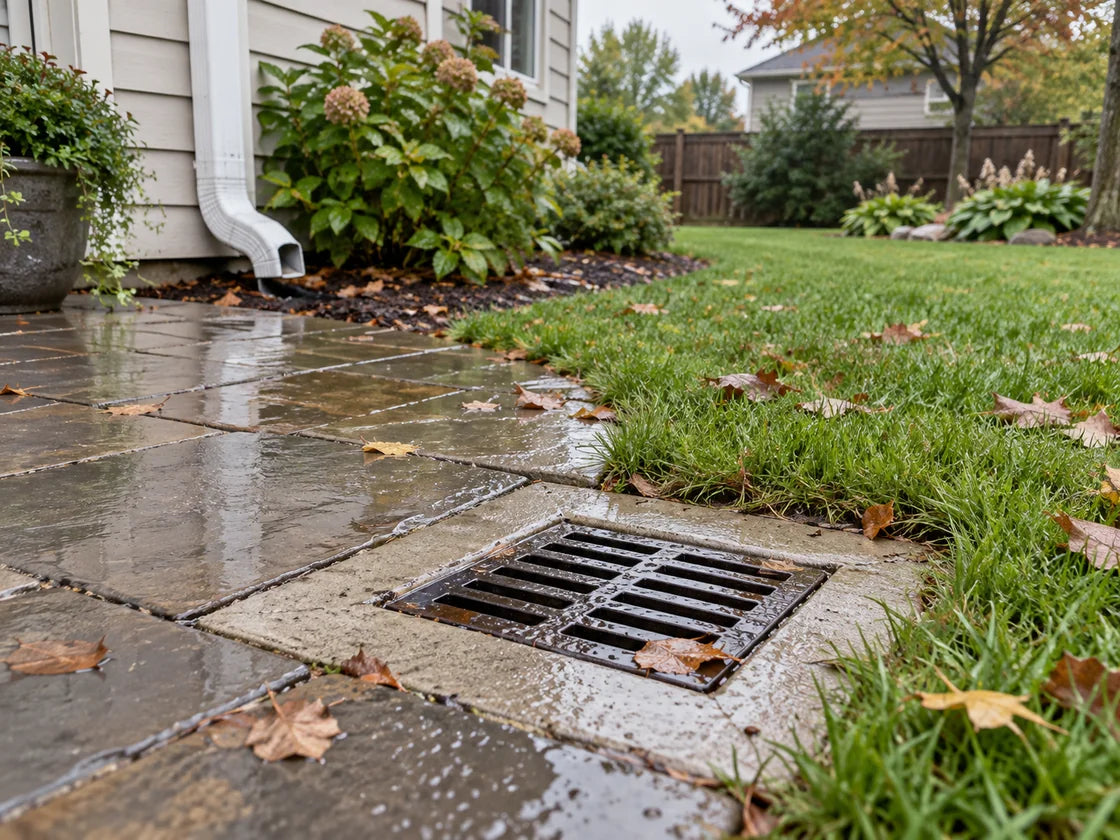
A storm drain inspection camera can show the inside of an accessible private rainwater pipe, including visible obstructions, pipe surfaces, joints, and water in the section it reaches. What it shows depends on access, visibility, and the camera system; a picture is not a complete drainage assessment. The camera cannot clear a blockage or prove that a yard will drain properly in the next storm. For homeowners, its useful role is to document a specific question before choosing maintenance or repair.
1. Name the rainwater line before choosing a camera
Start by identifying the private pipe you want inspected and the question you want answered. In this guide, “storm drain” means residential rainwater drainage, such as an accessible buried downspout line or a pipe connected to a yard inlet. It does not mean permission to inspect public street drains, enter a chamber, or use equipment intended for municipal work.
Write down the known inlet, intended discharge point, and symptom. For example: “The rear yard inlet drains slowly after rain; we want to know whether its accessible outlet pipe contains a visible restriction.” That is a focused inspection request. “Tell us why the entire yard floods” calls for a broader assessment than one camera pass.
The Building America Solution Center describes roof drainage as a system for directing runoff away from the home, with appropriate collection, piping, and discharge arrangements. A view inside one pipe addresses only part of that system. Ask a drainage professional to assess the wider issue when the route, outlet, or source of water is uncertain.
If your starting point is an overflowing downspout, use our clogged underground downspout guide to prepare the initial observations. Keep those observations separate from what a later camera inspection actually establishes.
↑ Back to top2. Understand what the footage can show
Think of the recording as a view of exposed interior surfaces at the time of inspection. It may show something worth investigating, but the operator still needs to explain what is visible and how confidently it can be identified.
For a useful comparison, InterNACHI's sewer-scope standards list visible cracks, roots, restrictions, damaged pipe, and standing water among reportable observations. Those standards address residential sewer laterals, not a universal pass/fail test for private stormwater drains. Do not transfer their numerical thresholds or scope to your rainwater system.
| Image under discussion | Useful review question |
|---|---|
| Material across the opening | Can the operator identify it, and is the view beyond it available? |
| A visible joint or change in shape | What establishes whether this is normal construction or a defect? |
| Water covering part of the view | Which surfaces could not be assessed? |
| A section with no obvious obstruction | Exactly which section was inspected, and where did the recording end? |
Ask the operator to pause at a feature and explain it in ordinary language. A useful explanation might be, “This is the area I want to examine further; I cannot confirm the condition behind it.” It should be clear when the operator is identifying a finding and when they are suggesting a possibility.
Keep the original recording. A selected still image can help you remember a location, but ask to see the approach to that location and the surrounding footage as well. Do not label your own screenshot “collapsed pipe” simply because the scene looks unfamiliar. Put the question beside the image and request an interpretation.
↑ Back to top3. Treat an incomplete view as an incomplete answer
A camera cannot report on surfaces it has not shown. Record where the inspection stopped, what limited it, and which question remains unresolved. A successful recording is not automatically a complete inspection.
RIDGID SeeSnake's operating guidance explains that obstructions can damage the camera or prevent retrieval and warns against using it to clear them. The same guidance discusses managing the view and protecting the cable at the entry. Follow the manual for the actual equipment; do not copy a technique from a different system or force a camera through an unknown restriction.
Use a simple distinction in your notes: seen, not seen, and needs another assessment. An illustrative entry would be, “The first section is recorded; travel stopped before the outlet; outlet connection not verified.” That wording gives the next person a clear starting point without making a claim about the unseen pipe.
Also separate pipe appearance from overall drainage performance. Even if the recorded section looks unobstructed, ask whether the original problem requires checking the inlet, discharge arrangement, or other parts of the site. The camera recording is one piece of evidence, not a guarantee against future ponding.
Before the visit, ask what happens if inspection cannot proceed. Will the operator document the limitation, discuss another accessible entry, or recommend separate work? Agree on that conversation rather than assuming that every booking includes a complete route survey or repair diagnosis.
↑ Back to top4. Match the equipment to the access and the deliverable
Choose a system by what must fit and what you need to keep, not by the longest cable advertised. Give the seller or inspection provider photographs of the proposed access, any known pipe dimensions, and the route information you have. Mark unknown dimensions as unknown.
The current Powerwill PW9D1 page lists a 9-inch IPS monitor, self-leveling camera, and 5 mm semi-rigid cable, with multiple cable lengths and locator configurations. These are configuration details, not a promise that the head will pass through your drain's opening or bends. Confirm the selected model and bundle against the manual before purchase.
- Access: Ask whether the head, connector, and any guide are suitable for the actual entry and route.
- Reach: Explain the section you want inspected; distinguish supplied cable length from a promise to reach the outlet.
- Recording: Request a demonstration of saving and playing back a short test clip.
- Location: Ask whether identifying a point above ground is part of the service and which equipment is required.
- Records: Confirm that the files and notes can be handed to the person advising on repairs.
Recording, distance measurement, and locating should be discussed separately. SeeSnake's basic inspection overview presents media capture, locating, measurements, and reporting as distinct job functions. Their availability depends on the system and service, so do not assume that a video file includes all of them.
For a one-time problem with uncertain access, request an inspection-service scope before deciding to buy equipment. If you expect repeated checks, make your buying checklist from the actual pipes and records you need. This guide does not assume an inspection price, a rental rate, or a guaranteed payback period.
↑ Back to top5. Build a record that helps the next decision
The most useful handoff combines the video with a short explanation of where it was taken and what it did not establish. You should be able to reopen the file later and understand its relationship to the original drainage complaint.
Use this suggested record for each private line:
- Question: State the symptom and the inspection's intended purpose.
- Entry: Identify the access location with an exterior photograph and describe the direction inspected.
- Findings: Link relevant timestamps to the operator's explanation.
- Limits: List any unseen section or unconfirmed connection.
- Next decision: Note what additional information is needed before selecting work.
For example, suppose a camera visit follows repeated ponding at a backyard inlet. Your record could say that the accessible pipe section was inspected, identify the end of the video, and preserve the question about the final discharge. This is a hypothetical record, not a customer case or proof of a particular cause.
Share the record with the professional responsible for the next assessment. Ask them to explain how any proposed work relates to the findings. If a later visit uses a different entry point, label that recording separately so that two views are not mistaken for the same route.
↑ Back to top6. Use heavy rain as a trigger, not an inspection window
Schedule outdoor inspection for safe conditions. The National Weather Service advises avoiding floodwater and warns about electrical hazards in flooded areas. Do not enter water to reach an inlet or assume that a camera head's rating makes the whole setup safe in a wet location.
The National Hurricane Center identifies September 10 as the climatological peak of Atlantic hurricane activity, with most activity occurring from mid-August to mid-October. This long-term seasonal pattern supports planning maintenance; it is not a forecast for your property or a reason to inspect during a storm.
Prepare your photographs, records, and questions before the appointment. For the wider ground-level preparation task, see our pre-rain inspection checklist. If conditions are unsafe, postpone the camera work and follow local emergency guidance.
↑ Back to topKey Takeaways
- Identify the private rainwater pipe and the specific question before arranging a camera inspection.
- Ask the operator to distinguish visible findings from uncertain interpretations and unseen sections.
- Stop at access or visibility limits; an inspection camera is not a blockage-clearing tool.
- Confirm fit, recording, reach, and locating requirements for the actual equipment or service.
- Keep the original footage, entry-point record, limitations, and follow-up questions together.
Frequently Asked Questions
Can a homeowner use a storm drain inspection camera?
Suitability depends on safe access, the pipe, the equipment, and the operator's ability to follow its instructions. Confirm those conditions first. Public drains and chamber entry are outside this homeowner guide.
Will a Powerwill camera clear a blocked rainwater pipe?
No. A Powerwill inspection camera is for viewing and documentation. Blockage removal is a separate task, and the camera must not be used as a ram or cleaning tool.
Does a clear video mean the yard drainage is fixed?
No. A recording shows the inspected section under the conditions of that visit. Ask whether the original symptom still requires assessment of the inlet, discharge, or surrounding drainage arrangement.
Which Powerwill configuration should I choose?
Choose only after confirming access, pipe geometry, needed reach, and recording requirements. The PW9D1 page offers different cable lengths and locator choices; review the exact bundle rather than assuming every option is included.
What should an inspection provider deliver?
Agree on the deliverables before booking. Ask for the original recording, identified entry point, explanation of findings, and a list of limitations. Confirm separately whether locating or a repair recommendation is included.
Inspect Before Repair
A storm drain camera is most useful when you know what question it needs to answer. Keep its visible evidence connected to a clearly identified private pipe, and make room in the report for what remains unknown.
If equipment ownership fits your situation, review current Powerwill PW9D1 options and confirm compatibility before buying. Otherwise, take your access photographs and inspection question to a drainage professional.
↑ Back to topSources
- Building America Solution Center — Gutters and Downspouts
- InterNACHI — Sewer Scope Inspection Standards of Practice
- RIDGID SeeSnake — Camera Reel Best Practices
- RIDGID SeeSnake — Basic Inspections with a CSx Monitor
- Powerwill — PW9D1 Product Details
- National Weather Service — During a Flood
- National Hurricane Center — Tropical Cyclone Climatology
Comments
No comments