
How to Inspect Drop Ceilings, Ducts and High Equipment Safely
 Michael Carter
0 comments
Michael Carter
0 comments
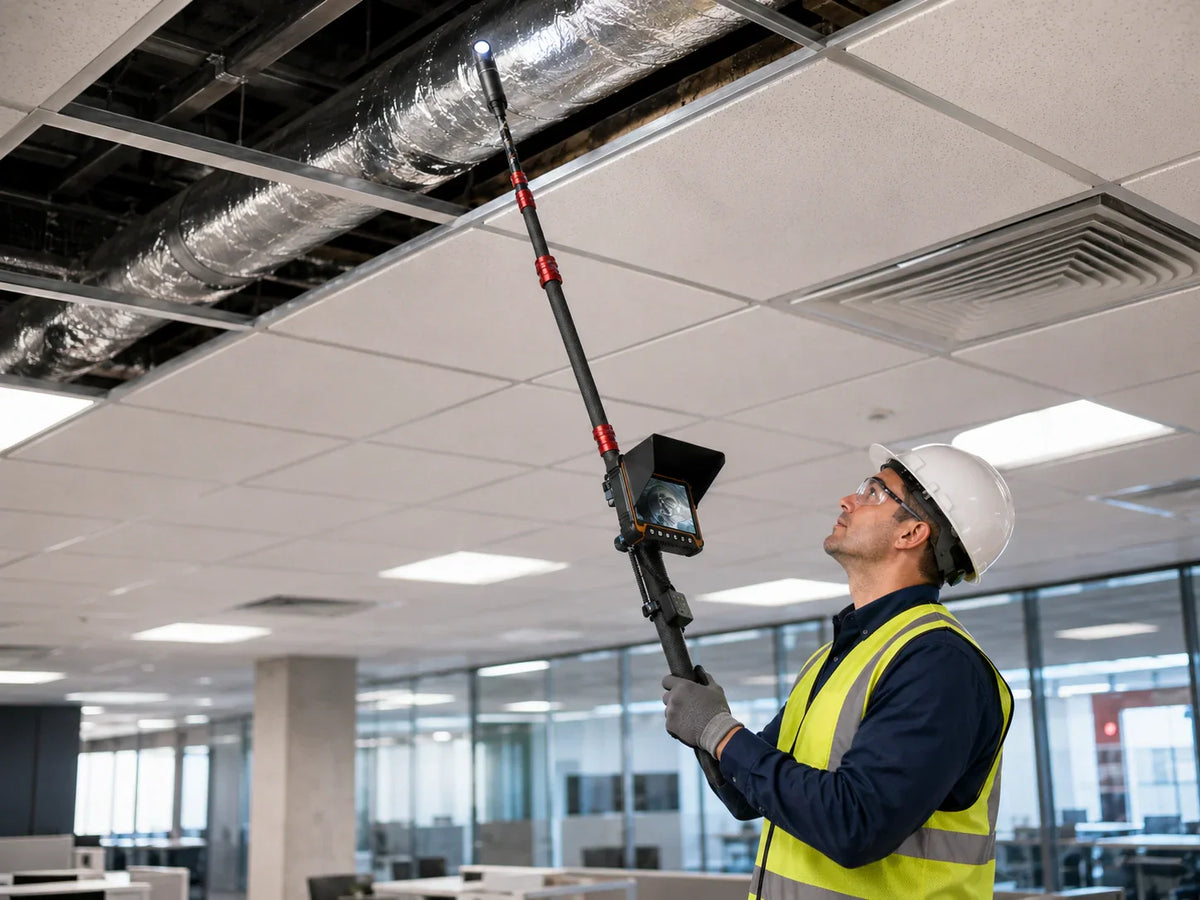
How to Inspect Drop Ceilings, Ducts and High Equipment Safely
ceiling inspection camera answers a practical buying question: which inspection tool lets you see the target clearly, document it, and avoid overclaiming what the footage proves? For Powerwill's M0700, the answer is a 10 ft / 3 m telescopic pole inspection camera with 360 degree pan, 180 degree tilt, LED lighting, 1080p imaging, and a 7-inch monitor. It is best used for high, overhead, underside, and hard-to-reach visual checks where photo or video evidence matters. It is not a substitute for required access, repair work, safety procedures, or specialist testing.
What This Workflow Is For
A ceiling inspection camera supports first-look visual checks in overhead, recessed, and elevated areas.
Use this workflow for drop ceilings, ceiling cavities, duct entrances, roof voids, warehouse infrastructure, equipment tops, and other hard-to-see maintenance points.
The goal is to document visible conditions before deciding whether panels, lifts, ladders, or specialist access are required. It is not a substitute for electrical, structural, air-quality, or mechanical testing.
The M0700 fits because it combines 10 ft reach, pan-tilt camera movement, LED lighting, and recording on a 7-inch monitor.
Back to topPrepare Before Opening or Reaching
Before aiming the camera overhead, check the work area and avoid disturbing unknown materials.
Confirm the inspection target, identify people or equipment below, and avoid disturbing materials that require specialist handling. If the area may involve electrical hazards, insulation concerns, mold, or regulated materials, pause and follow the site's procedure.
Test the camera movement, lighting, monitor, and storage before raising the pole. Use only the pole length needed for the view.
The same safety mindset that applies to ladder work should apply to overhead camera work: plan the access and avoid improvising around hazards.
Back to topInspect Drop Ceilings and Cavities
Use the camera to capture context, then aim into the cavity for specific details.
Start with a context view of the ceiling grid or access point. Then use the pan-tilt head to inspect above the grid, along the cavity, or toward the suspected issue.
Look for visible moisture, loose material, debris, disconnected components, blocked pathways, or conditions that require closer access. Record what is visible and what remains unclear.
Short clips and still images are more useful for maintenance records than long unstructured video.
Back to topInspect Duct Entrances and High Equipment
A pole camera is useful when the inspection target is above the technician's normal line of sight.
For duct entrances, angle the camera into the opening and adjust LED lighting carefully to avoid glare. For high equipment, use the camera to look across tops, rear surfaces, or nearby infrastructure.
The M0700's pan-tilt head is valuable here because overhead targets often need side views, not just a straight upward image.
If the camera reveals a condition that requires repair, measurement, cleaning, or disassembly, record the evidence and escalate to the appropriate access method.
Back to topTurn Footage into Maintenance Decisions
The output should help the team decide the next action, not just collect images.
A useful maintenance note includes the location, date, visible condition, image or clip reference, and next action. The next action might be monitor, clean, open access, schedule repair, or request specialist review.
Avoid making claims that the camera did not prove. Visual footage is strong for visible conditions and access limitations, but it does not test system performance by itself.
This article should send readers to the ceiling and HVAC application page and the M0700 product page.
Back to topQuick Comparison Table
| Task | Better tool | Why |
|---|---|---|
| High-reach visual check | M0700 pole inspection camera | Reach, pan-tilt control, lighting, and recording |
| Close internal cavity | Compact probe camera | Smaller form factor for nearby openings |
| Broad roof overview | Drone or direct access workflow | Wider exterior context when allowed and safe |
| Report evidence | M0700 monitor recording | Photo and video capture for documentation |
Key Takeaways
- A ceiling inspection camera is best for first-look visual checks in overhead and recessed areas.
- Teams should identify hazards before opening panels or raising a camera into unknown spaces.
- Context footage plus close evidence makes maintenance records easier to use.
- Pan-tilt camera movement helps inspect duct entrances, equipment tops, and ceiling cavities from more useful angles.
- Camera footage should drive a next-action decision such as monitor, clean, open access, repair, or specialist review.
FAQ: ceiling inspection camera
What is a ceiling inspection camera?
It is a camera used to view overhead or recessed spaces such as drop ceilings, cavities, and duct entrances.
Can the M0700 inspect drop ceilings?
Yes. Its 10 ft pole, pan-tilt camera head, lighting, and monitor fit first-look drop ceiling and cavity checks.
Can a camera test HVAC performance?
No. It documents visible conditions; performance testing requires the appropriate HVAC tools and procedures.
What should facility teams record?
Record location, visible condition, image or clip reference, limitations, and the recommended next action.
When should I stop and escalate?
Stop when the area may involve electrical hazards, regulated materials, unclear damage, or work requiring direct access.
Conclusion
Choose the inspection tool around the task. If your work depends on reach, camera angle control, lighting, and report-ready evidence, the M0700 belongs in the pole inspection camera category.
Open the ceiling and HVAC M0700 guide.
Back to top
Comments
No comments